Friday, March 1, 2013

Just an OOTD

Loose, sheer, rose blouse - Forever XXI
Mint skinny leg pants - Urban Planet
Beige bandeau - Aerie
Pearl Bracelets & Bangles - H&M
Rose gold Marc by Marc Jacobs watch
white vintage belt - My mom's from the 1970s when she still lived in the Philippines
essie nail polish - mink muffs, sand tropez, adore-a-ball, blanc, top coat, ballet slippers


Up-Cycled Crop-Cut Knit Sweater


So yesterday I went to a thrift store and bought a bunch of used clothes for about $7-$13 a piece. I figured I would alter some of these clothes to turn them into my own custom pieces. So here is a quick  tip to create an old sweater into something that probably still looks vintage, but with much more appeal and personality!

BEFORE
AFTER

Essentially, I bought this used. loose sweater; it's a knit crop style sweater.
I also bought crochet lace trim from Fabricland.
With my handy dandy sewing machine, I used the trim to make a collar on the front neck line of the sweater. It gave it this vintage look that I personally love.
So after running it through the wash, I wore it today to work with black, high-waist leggings and black suede wedges from Nine West.
This ended up being my outfit, I love love love it! Definitely doesn't look like I only spent 15 bucks to make my top ($12 on the sweater, $3 on the trim)

So if you want to find an inexpensive way to customize your outfit, give this little number a try! ENJOY! :)


Wednesday, September 5, 2012

Make up tutorial - sort of. ASIAN style.


I don't actually look like this you know, as horrible as that sounds. It takes time - a good 10 minutes every morning.

Figured that because there's a dramatic difference between what I look like with make-up versus what I look like without it, I may as well do a tutorial on it. I suppose...

Clinique Clarifying Lotion - I don't know what it does to be honest, I just buy it all the time and apply it after I wash my face.

NARS Pro-Prime (oil-free, pore-refining primer - $38 CDN) all up in this shit. I just apply it sparingly over my face after my lotion is dry. 


Before picture; I call this "the beast"


 My tools - NARS Sheer Matte Foundation ($55 CDN) and Sephora Professional Blush Brush 41($36 CDN) - I use it to apply liquid foundation - don't judge me


Do one of these.. y'know just to show how much plaster I use to coat my imperfections and subtle physical indecencies..


Squinty-eye post-foundation-application face.


Clinique Blended Face Powder ($27 CDN) - I just cover my face with this stuff, no need for an after photo.


Sephora Professional Bronzer Brush - 44 ($34 CDN) and NARS Bronzing Powder ($39 CDN)
applied to my cheek bones, and wee bit on my chin, nose bridge and forehead


bronzed face


NARS Blush ($32 CDN) and Sephora Professional Angled Blush Brush 40 ($36 CDN)
applied sparingly over my cheekbones... - put too much and you'll look embarrassed for the rest of the day.


I'm blushing...


So... I don't know what to say about this because I should be using brow powder, but I don't.
This is an YVES SAINT LAURENT Eye Shadow Palette ($64 CDN) that I don't particularly know the specifics of. Anyway, I use the brown to darken my non-existent eyebrows...


One in..


Whaaaat a difference - being asian sucks when your eye brow hairs are sparse


Eyebrows in - this is the AHA! moment, because now you know why my "before" picture was so different.


The Eyeliner that I don't know the prices of, ones VS, the other one is MAC.
I'll be honest, the MAC one is more expensive, but the VS is 10000x better.


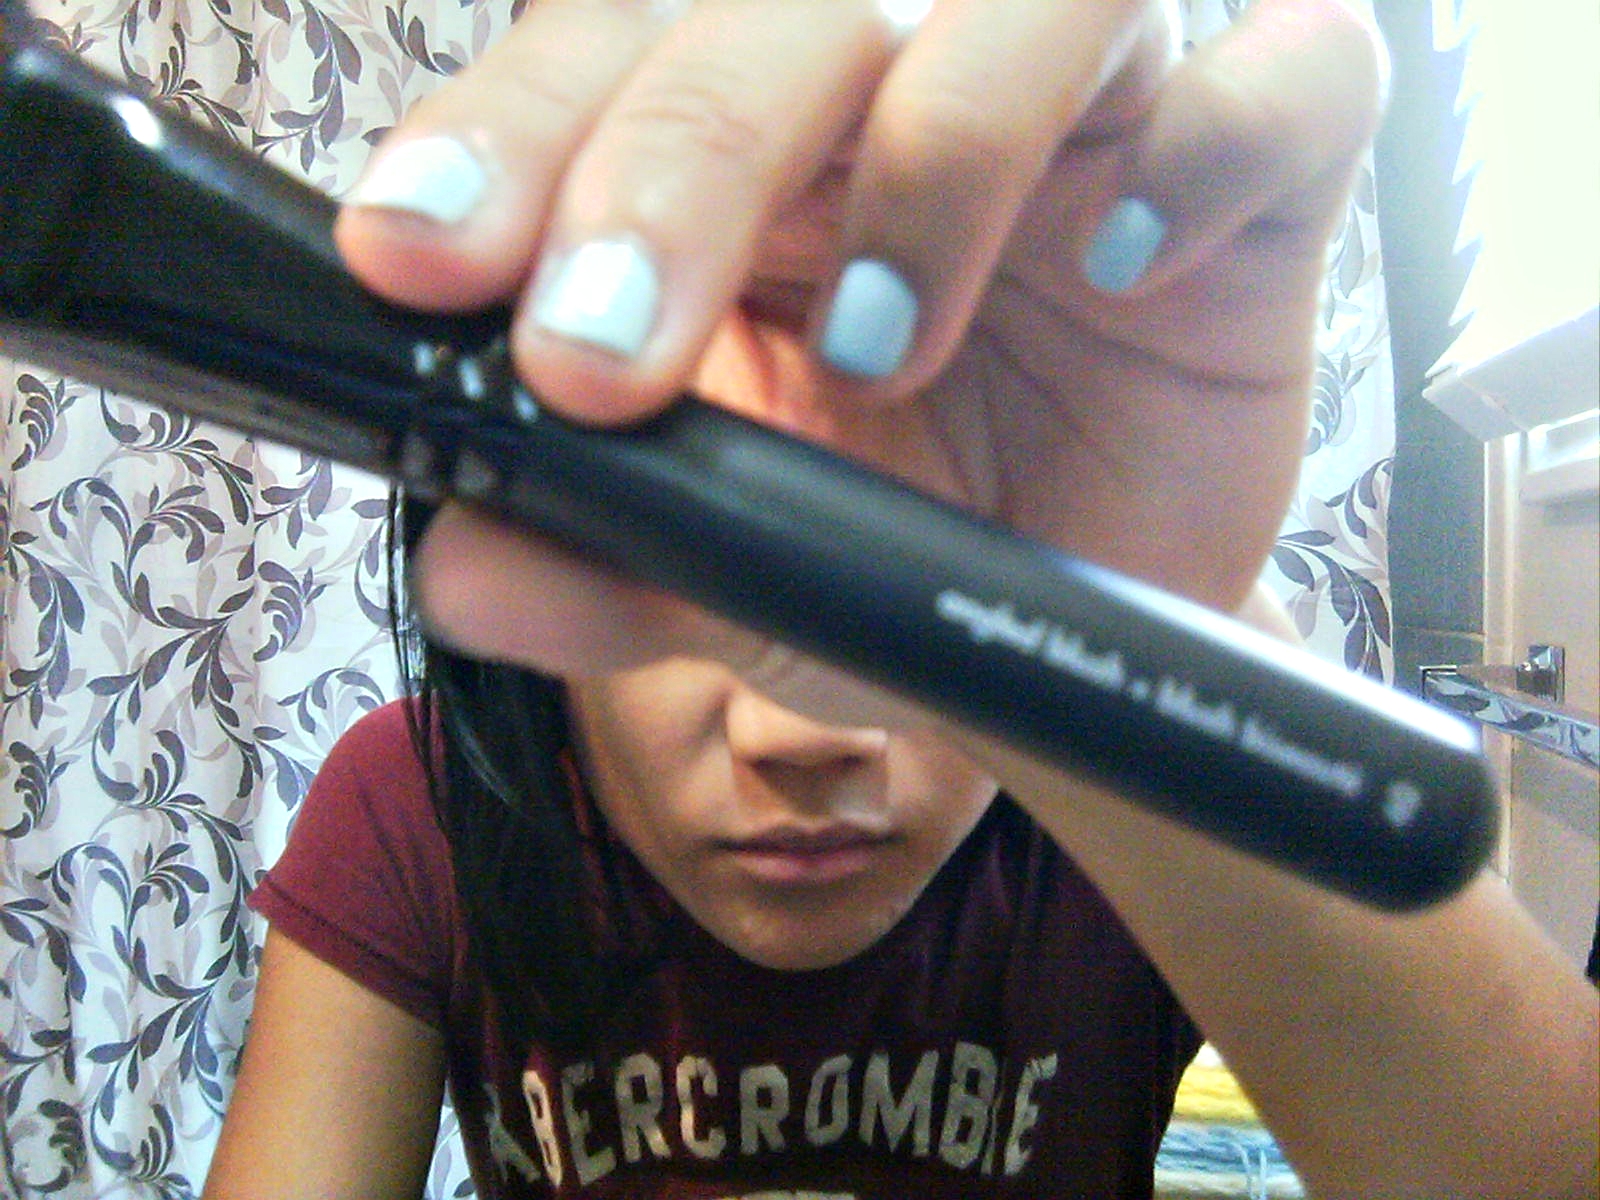
Gotta tie up my hair to put this in because I'm handicapped and manage to eyeliner the fuck out of the loose strands of hair that dangle in front of my face.


Never fail to look like an R-tard before applying eyeliner


Uno


Dos
And yes, I know they don't match, my eyes are uneven, as most other people's are, so whatever man, deal with it. I'm asian, it just works.


Laaapstaaack time!


NARS Pure Matte Lipstick ($32 CDN)


Redtastic


NARS Larger Than Life Lipgloss ($29 CDN)


Extra Redtastic


Gotta make sure there's no lipshtaaack in the teeth


I can now take my god awful hair out


The After Face


Mandatory silly face


upclose - now you can see the blush and bronzer and my uneven eyes. 
Et voila. Not a tutorial, but kind of. LOL

czaR2-D2

Friday, July 20, 2012

DIY Bronzer!

Good morning everyone! I'm actually up before 9am today, which is insane, but despite how much my eyes hurt I kind of enjoy it. I made this bronzer about two weeks ago and I've just been taking my time with posting the tutorial. No reason for that, just being lazy. I definitely didn't come up with this myself but I did alter it a bit to what I saw. Meaning I couldn't find what actually inspired me to make this so I just decided to go with the flow. Worked out well though.

Just gunna let you know now, I only made one variation of it (the very light one) so if you want more colour or depth etc you're gunna have to experiment with your ingredient ratios.

And so we'll begin. 
You're gunna need: 
  1. Corn starch/Icing sugar 
  2. Essential Oil
  3. Nutmeg
  4. Cinnamon
  5. Cocoa
  6. An empty bronzer container

Ingredients

1. Start out by cleaning out your bronzer container. You can make a loose variation of this, so if you want to do that just put it in a small jar or tupperware thing.

RIP

 2. Start by adding:
  1.  1 tbsp cinnamon
  2. 1 teaspoon nutmeg
  3. 1 teaspoon cocoa 
This step is where you can alter it to the shade you want. Remember that cinnamon = glow, cocoa = darkness, and nutmeg = browny golden colour. Add more/less accordingly. I ended up adding another half teaspoon of cinnamon and a bit more nutmeg.

Used my fancy square bowl for aesthetic purposes.

3. Add 2 tsp corn starch or icing sugar. I had icing sugar pictured, but I changed my mind half way through because I was afraid I might break out because of it.

I hate buying no name brand stuff because I think it's hideously packaged.
 4. Mix 'er all together.

Yup.
 5. Don't keep your laptop too close by if you like to listen to music or whatever while you do this.. I still have ingredients all over it.

ps: If you like folk/acoustic music, I'm listening to this right now, check it out it's good http://8tracks.com/northernground/early-mornings-vol-3


 6. Essential Oil... Let's not talk about why I have this, but this is all I had in replacement for essential oils at home. Yeah it's massage oil, what can I say. It smelled like cinnamon so I rolled with it. I was nervous that it wouldn't harden the way it would if I used essential oils but it did the trick. However, when I make this again (which I will) I'll make sure to get some of the real stuff.

Add 10-15 drops of whatever 'oil' you have. Just get it wet, but not too wet. No pun intended. Moisten it. Goddamn it.

If you want the loose variation, skip this step. Obviously. 

Yeah... just.. yeah.
 7. Pack it all into your container and flatten it out with a spoon or your fingers. Try to make sure it's flush with the edges of the container or once it dries you'll have a hard time closing it.

You're gunna have to let it sit for a couple hours to dry, I put mine on the window sill so the sun would help.

That's it.
Voila!
 So that's all it takes to make bronzer at home. It's cheap, easy, and I'd say it works pretty well. Mine is really subtle but it's nice for days when I don't really want to wear makeup. And it smells unreal.

I wear it every day, haven't noticed any substantial breakouts or anything. It's holding up well for the most part. I feel like if I used essential oil instead my brush would be able to pick it up better. Next time I might try it as a loose powder.

Here are some obligatory selfies over time to show you how it looks. I'm not really sure how to take pictures that emphasize bronzer so.. yeah. This is what you get.

Just bronzer.
Wolf shirt.
Me at this very moment. So happy to be awake, you can see. 


There you have it, kids. Make your own bronzer, save yourself 14 bucks.
Happy Friday :)

ChelC-3P0